I get really excited when I think about making any kind of art supply/craft with stuff right outside my house for free, earth friendly & simple. So when I was told I could make some pottery with dried rabbit poop (alternately bone dry horse or cow poop) and some clay-ish soil dug from the ground I could not wait to get my hands on this project! So here is the 100% natural, chemical free, and old world process I tried out ::::
Gathering Supplies:
You will need to find some kind of super duper dried up poop of a grass/plant eating animal - and some dirt. The more hard clay the dirt is the better and easier to begin with. Sand can also be added to this project but I didn't have any, so I tried it without.
Gathering rabbit poop takes a while cause it's not exactly huge, but I knew a spot in a open area where I'd seen bunches of scat and tried filling up my can.... You'll want as much as you can get cause the more the poop the more malleable the clay will be.

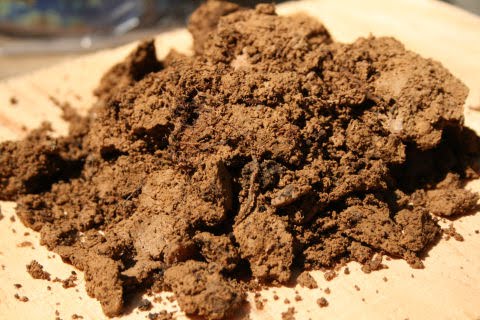
 Then I went to a spot I had found some clay a few inches under the black soil, it was a yellow/tan/brown colored clay.

Setting Up A Work Space:
I took a bench and set up a pile of the clay on a piece of wood I could knead the clay on, a plate of water for wetting the clay, and the rabbit poop to be crushed/powdered.
 The Process:
I put the rabbit scat in a bowl and took a rough stone to crush it into a powder. The poop has to be super dry for this to work good.
 In mortar and pedestal fashion, the poop will become a powder that you will need to add bit by bit to the clay.
 I added it in slowly, kneading in the rabbit scat and water to keep it wet. The clay-ish dirt went from cracking and hard to work with to becoming a slimy traditional clay that was easy to shape and play with. More poop seems to mean more awesome!
 Just like store bought clay, ya gotta roll it, mash it, move it, work it over and over to get it the right consistency. Also working out air bubbles.
 I added water to keep if from cracking often... (i wonder if the sand would help with binding it together also???)
 Pretty rad, right? Went from dirt in the ground to a ball of clay ready to be the whim of human imagination or functionality.
 I decided to make a small simple coil pot, starting with a round slab - I didn't want to get in depth till i learned out the clay would work and dry...
 Coil pots are jus' rolling out little snakes, and coiling them upward...
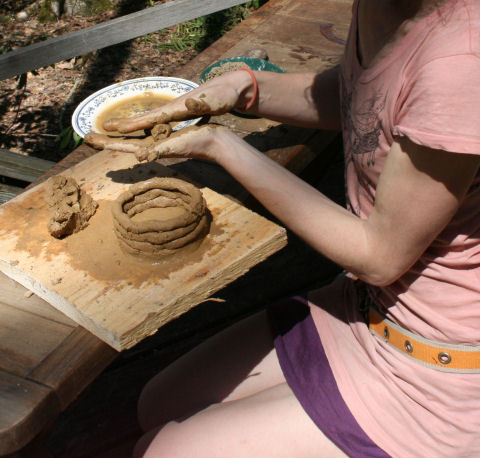 Then you can smooth the coil together with wet hands, to make the sides flat.
 YAY! little pot. Tiny pot! Poop pot! Lovely pot!
 I played around with making marks on it too with my knife (see below).

 THE NEXT DAY:
So the next day my pot was rock hard, and I don't think it was even nearly all the way dry. First I am experimenting with sun drying, and then I would like to later throw it on a fire and hope it doesn't explode. But there was a problem already..........
 It freakin' CRACKED on tha' bottom. shit. . . . . Nothing a little more clay can't fill in though.
What'dya say, that this DIY eco art project is a 90% success and 10% fail ? Seems 100% amazing to me regardless of the end result.
 And, it still looks good from far away. ;)
 Xoxoxox